 |
Start of construction. We added a 14 x 24 room off the back side of the home. It was built on a concrete slab. |
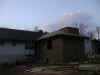 |
A view from the back of the new added on structure. |
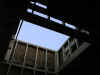 |
The framed in opening is were the 6' Home/Pro Dome will be installed. |
 |
A view from inside the additon. |
 |
Another view of the dome opening. |
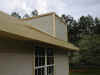 |
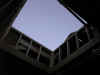
After the siding was added, this flat area is were the 6' Home/Pro Dome will be mounted. |
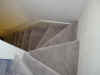 |
These are the steps leading up to the dome. This was fun trying to make these work, but we got it. |
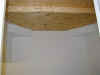 |
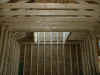
The inside of the dome room, before the dome was mounted. All the plywood area will be cut out before we mount the dome. |
 |
6' Home/Pro Dome construction started. I read the manual first before I started, but I don't think I needed it. It went together so well and there was no problem. |
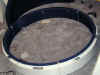 |
Here is the base ring completed and ready for step two. |
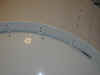 |
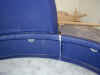
The shutters worked very well and were easy to put together. I didn't understand how they worked until I saw them. A great design. |
 |
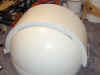
Just looking it over and double checking! |
 |
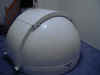
Dome completed, now it's time to take it apart so it can be re-assembled on the roof top! |
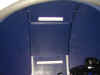 |
A view of the dome shutters from the inside. |
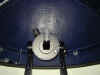 |
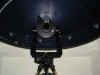
Back of the 10" Meade SCT and the rollers of the dome. |
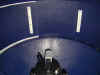 |
A different angle of the shutters. |
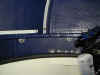 |
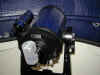
Inside view of the handle to open the dome. |
 |
Wide field view of the inside of the dome area! |
 |
Standing at the top of the steps, coming in to the dome from this picture. |
 |
The Meade 10" LX-200 SCT, with 32mm Wide Field Meade 4000 eyepiece. |
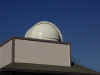 |
Outside view of the completed project! |
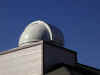 |
It's done !!!! |